×
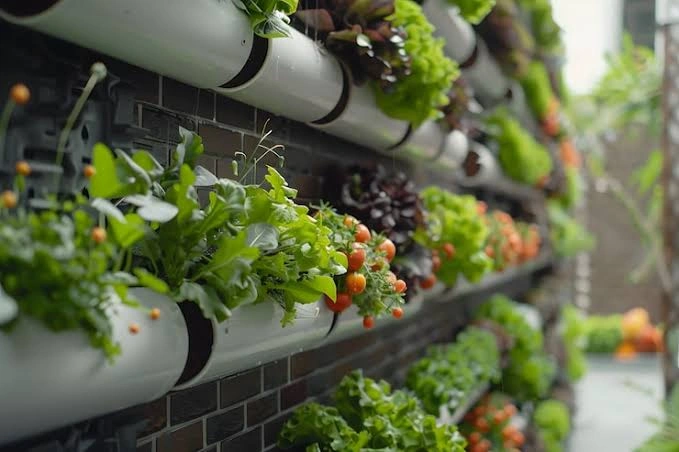
I started growing vegetables indoors two winters ago. My kitchen windowsill was full of tiny pots. The seedlings looked sad. They were tall and floppy. I did not know what I was doing wrong.
Then a friend told me about grow lights. She said my plants were reaching for light that was not there. A window is not enough in winter. I bought a simple grow light and indoor vegetable gardening with grow lights.
This is what I learned along the way.
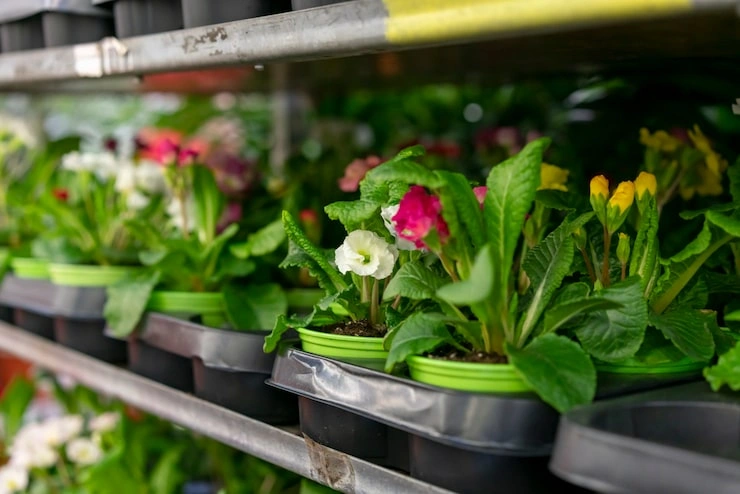
Plants make their own food from light. This is called photosynthesis. When plants do not get enough light, they stretch. They become thin and weak. They fall over.
A window does not give strong light. The glass blocks some rays. The sun moves through the day. Your plants only get light from one side. This makes them lean.
I tried rotating my pots every day. It helped a little. But the plants still did not grow well. They needed light from above. They needed steady light every day.
Grow lights fix this problem. They give plants what the sun gives them outside. You can control the light. You can give plants exactly what they need to grow strong.
Read Also: How To Fertilize Vegetable Garden Naturally
My first grow light was a cheap fluorescent tube. It worked okay. But it was bulky and ugly. I kept it in the basement.
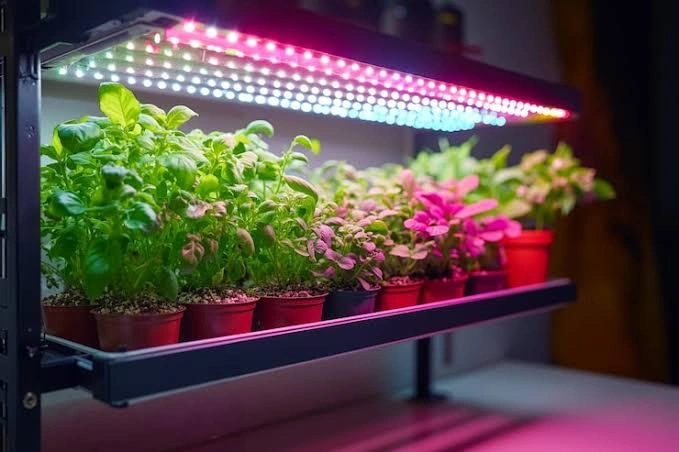
Then I found LED grow lights. They are small and light. They do not get hot. I can put them right over my plants without burning leaves.
My electric bill did not go up much either. LEDs use less power. They last for years. My first set is still working after three winters.
I paid more for LEDs than fluorescent lights. But I saved money on electricity. I also did not have to buy new bulbs. In the long run, LEDs cost less.
When I went to the store, I was confused. There were so many lights. Here is what I looked for.
Watts tell you how much power the light uses. More watts means more power. But that does not always mean better plants. The type of light matters more.
My first light was 24 watts. It worked for lettuce and herbs. When I wanted tomatoes, I bought a 100-watt LED. The tomatoes needed more power.
Plants need different colours of light. Blue light helps leaves grow. Red light helps flowers and fruit grow.
I bought a full spectrum light. It has both blue and red. The light looks white with a hint of purple. My plants grow well under it.
Some lights only have blue or only red. Those are for specific stages of growth. For beginners, full spectrum is the easiest choice.
The back of the box has numbers like 6400K. That number tells you the colour. Higher numbers are cooler and bluer. Lower numbers are warmer and redder.
For leafy greens, you want a cooler light. For fruiting plants, you want a warmer light. A full spectrum light covers both.
I cleared a small table in my spare room. I hung the light from a shelf above the table. I used chains so I could raise and lower the light.
You do not need a big space. A desk, a shelf, or a cart works. Just make sure the light can hang above the plants.
This took me some trial and error. If the light is too far, plants stretch. If it is too close, leaves burn.
For seedlings, I keep the light two inches above them. Yes, two inches. That close. I check them every day and raise the light as they grow.
For bigger plants, I keep the light four to six inches away. I watch the leaves. If they look pale or crispy, I move the light up.
I bought a cheap timer from the hardware store. Best five dollars I ever spent.
I set the timer to turn the lights on at 7 in the morning. They turn off at 10 at night. That is 15 hours of light.
Plants need rest too. They use the dark hours to process energy. Do not leave lights on all night. Your plants will not thank you.
Not every vegetable grows well indoors. I learned this the hard way. I tried growing carrots once. They grew tiny and sad.
These are my favourites. They grow fast. They do not need strong light. I can harvest leaves every week.
I grow butter lettuce, spinach, and kale. I start new seeds every two weeks. That way I always have fresh greens.
Basil grows like a weed under lights. I use it almost every day. Parsley and cilantro do well too.
Mint grows so well I have to trim it back. I give bunches to my neighbours.
I grow cherry tomatoes in winter. They are small and sweet. I keep the lights on 16 hours a day for them.
Tomatoes need more light than greens. They also need bigger pots. I use five-gallon buckets.
Peppers need lots of light. I grow small pepper varieties. They take longer than tomatoes but they are worth the wait.
Root vegetables do not do well inside. Carrots, beets, and turnips need deep soil. They also need to be started outside.
Melons and squashes get too big. They take over the room. Leave those for the garden.
I used to plant seeds in regular potting soil. They sprouted but they did not grow well. The soil was too heavy.
Now I use seed starting mix. It is light and fluffy. Roots grow through it easily.
You do not need fancy equipment. Here is what I use.
The heat mat helps seeds sprout faster. Seeds like warm soil. You can also put trays on top of your fridge. That spot is warm.
When seeds sprout, they need light right away. I put them under the grow light. I keep the light very close.
I water from the bottom. I pour water into the tray under the pots. The soil soaks it up. This keeps the leaves dry and prevents disease.
When seedlings have two sets of true leaves, I thin them. I keep the strongest one in each pot. I snip the extras with scissors. I do not pull them out.
You May Also Like: Homemade Fertilizer For Vegetable Garden
I have killed many plants. Each failure taught me something.
I overwatered my first batch. The soil was always wet. The seedlings rotted at the indoor vegetable gardening with grow lights.
Now I let the soil dry out a bit between watering. I stick my finger in the soil. If it feels dry an inch down, I water.
I kept my light too high at first. The plants stretched and fell over. I lost half of them.
Now I keep the light close. I check the height every few days. I raise it as the plants grow.
I forgot to plug in the timer one week. The lights stayed on all night. The plants looked stressed.
Now I check my timer often. I also have a backup timer in case one breaks.
Still air can cause mold. I added a small fan to my grow space. It blows gently on the plants. It also makes stems stronger.
Here is what to look for and what to do.
Tall and floppy plants need more light. Move the light closer. Leave it on longer.
Yellow leaves can mean too much water. Let the soil dry out. They can also mean the light is too far. Move the light closer.
Brown tips often mean too much light. Move the light farther away. Remove the damaged leaves.
Check your light height. Check your timer. Check the room temperature. Plants grow slower in cold rooms.
This can mean light burn. Move the light up. The plant will grow new healthy leaves.
Here are the things I wish someone had told me.
If you are new, start with these.
Indoor vegetable gardening is a skill. Like any skill, you get better with practice. I am still learning. Every season I find something new. The grow lights changed everything for me. They let me garden when the ground is frozen. They let me eat fresh food all year. I hope you try it. Start with one light and a few seeds. Watch them grow. You will be amazed at what you can do.
.